
Trees for Travellers – Predatory trees, hooks and pricks
May 15, 2013The baobab tree, magic and Tate Kalunga
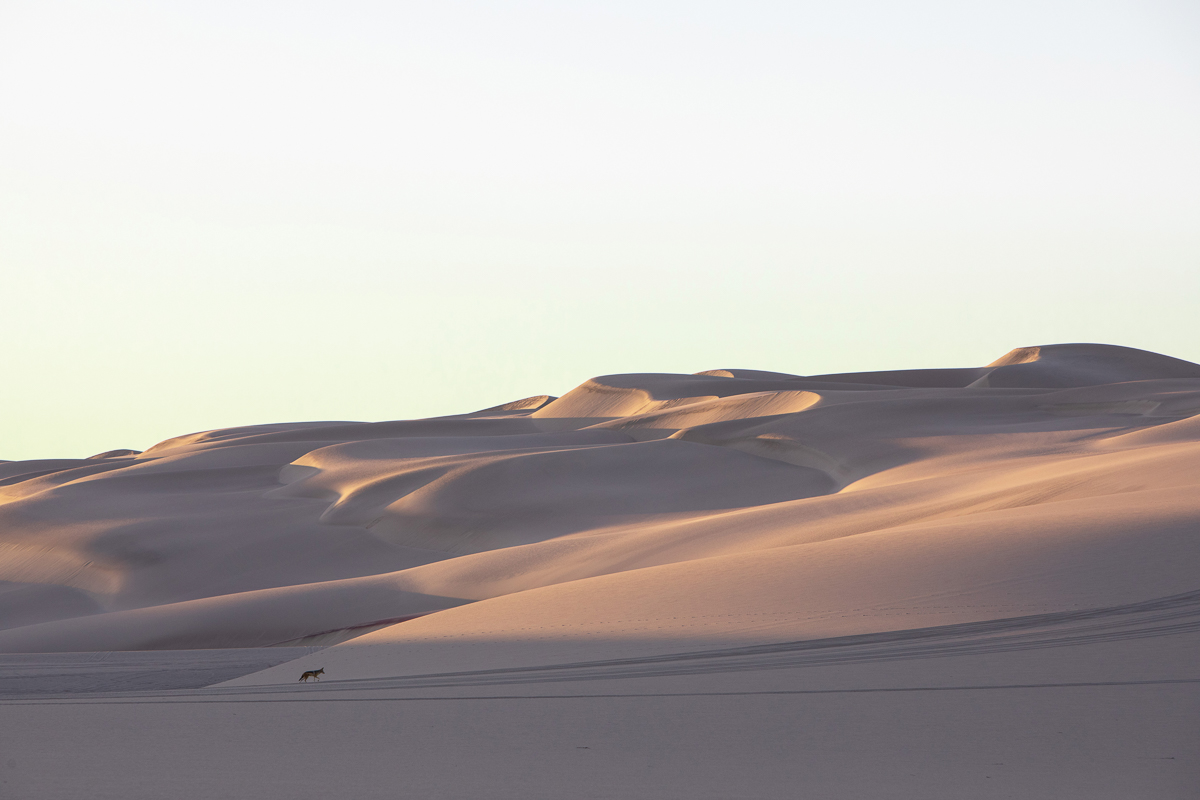
May 16, 2013Text and photographs by Annabelle Venter
Namibia is a photographer’s dream, inducing many visitors to come here specifically for this reason. Plus there is an overload of information on ‘how to get the best shots’ out there that can be confusing at times. If you’re not yet familiar with the marvellous past-time of photography, here are a few easy tips that will help you gain more, both from your visit and from your camera.
In this series that will appear in the next four issues of Travel News Namibia, I will attempt to cover the four seasons in the country by focussing on the areas of photography you might want to explore at these times.
Let’s start with some general tips for a stress-free photographic safari.
5 tips for travelling with your gear
- Lighten it – plan before you leave home. Carefully select the lens or lenses you might need and see if you can share with a fellow traveller in your group.
- Save it – bring enough memory cards with you so you don’t need to download onto a laptop.
- Charge it – bring a second battery or two and don’t forget the charger! A car charger is useful, as you spend a great deal of time on the road.
- Bag it – if you’ve spent a lot on a new camera, don’t skimp on the bag. Always carry your camera in the bag and keep the lens cap on.
- Filter it – a basic UV filter is a must to protect your lens against dust and scratches.

Elephants. Photo ©Annabelle Venter
Do the research
- Read the manual of your camera and take it along with you.
- Research the area you will be visiting and establish what wildlife or birds you can expect to see.
- With wildlife you can’t always plan the shots, but knowing your subject helps anticipate their next move.
- Find out what time is sunrise and sunset, and what the status of the moon is.

Vertical distance—Springbok at Salvadora waterhole, Etosha with lions watching. Photo ©Annabelle Venter
Winter is the ideal time to photograph wildlife, so let’s start here. No rain from May until October means extreme aridity, with wildlife searching for food and water everywhere. The best place for game viewing and wildlife photography is undoubtedly Etosha National Park, where the animals must make daily visits to the waterholes. By observing a few rules and knowing your subject, you will be able to improve your shots.
Ten tips for landing the shot
- Get up early to enjoy the photographer’s ’golden hour’ just after sunrise and just before sunset. Good lighting makes all the difference.
- Check your camera settings before you leave. When the light is low, make sure you use a fast shutter speed. AV mode gives you the widest aperture, allowing the maximum light in. A large aperture (such as 2.8f) used together with a higher ISO will increase the shutter speed.
- Check that your battery is full and that the spare one is also charged.
- Set the White Balance to automatic (AWB). This removes those strange colour casts and improves your images in-camera, reducing processing later on.
- Stability is the key to obtaining sharp shots – this can be achieved by using the fastest shutter speed combined with stabilising your camera on the car window. There’s a host of window supports on the market today, but most are cumbersome and/or heavy when travelling. You can make yourself a bean bag* before you leave home and fill it when you arrive at your destination.
- Try vertical shots for a new angle – especially good for portraits or achieving a sense of distance and height (see springbok at waterhole photo)
- Get the whole picture – when you’ve finished the close-ups with your telephoto lens, try wide angle to capture the animal in context, for example with a beautiful sky and tree.
- Remember the 2/3rds rule – either two thirds sky and one third ground or the other way around. This also works well for vertical shots.
- If there is more than one animal in the frame, focus on the one closest to the camera, as the viewer’s eye is naturally drawn to that one, and specifically on the eyes.
- Be patient and learn something about your subject beforehand so that you can anticipate its next move. For example, leopards walking slowly away from you almost always do the ‘twist’ – they stop and look over their shoulder at you – they are curious cats after all! (see leopard photo)
Shooting the (full) moon

Lunar eclipse. Photo: ©Annabelle Venter
In winter the skies are cloud-free, so it’s a great time for full-moon shots. But beware – it can become an obsession and make you late for dinner (if not ruin a romantic evening!). Make sure you do this in a place where you feel safe, as it can be potentially dangerous to be out at night with expensive camera gear. You’ll need a sturdy tripod if you’re using a telephoto lens, and a shutter-release cable. If you have mirror lock-up on your camera use it, because it will further reduce vibrations. This can be done with most types of cameras.
A quick set-up looks like this: Manual mode or shutter priority setting; a shutter speed of about 1/125; ISO at least 125; manual focus; aperture between f8 and f11; focus on infinity; the more telephoto or optical zoom the better – I used 400mm.
Now just wait for full moon or a lunar eclipse and have fun!
*Bean bag for your camera

- Cut four rectangles from strong cotton material, roughly 25 cm x 20 cm.*
- Sew them together on three sides and sew a zip into the fourth side.
- When you arrive at your travel destination, buy about 2 kilograms of rice to fill the bag. You might need a little more or less, but the bag should be full with a little bit of ‘give’ in it.
- Providing you didn’t drop your bag in the sand or get it wet, you can give the rice away when you leave.
- *The double layer of fabric keeps the rice cleaner than a single layer, making it recyclable as food!
This article was originally published in the Travel News Namibia Winter 2013 edition.
